Introduction
Whether you want to capture a memorable moment in a video game, share an interesting article snippet, or document a software issue, knowing how to take screenshots on Windows 10 is an essential skill. In this guide, we’ll explore various methods to effortlessly capture your screen in different scenarios.
1. Using the Snipping Tool
The Snipping Tool is a built-in feature in Windows 10 that allows users to capture specific areas of the screen. To use it:
- Press the
Startbutton and type “Snipping Tool” in the search bar. - Open the tool and click on “New” to select the area you want to capture.
- Once selected, the screenshot will open in a new window, ready for annotation or saving.
2. Snip & Sketch for Quick Edits
Windows 10 introduces Snip & Sketch, a tool that not only captures https://logicnextech.blogspot.com/ but also allows quick annotations. To use Snip & Sketch:
- Press
Windows + Shift + Sto open the Snip & Sketch toolbar. - Select the type of snip you want (rectangular, freeform, window snip).
- The captured screenshot will be copied to your clipboard and can be pasted or saved.
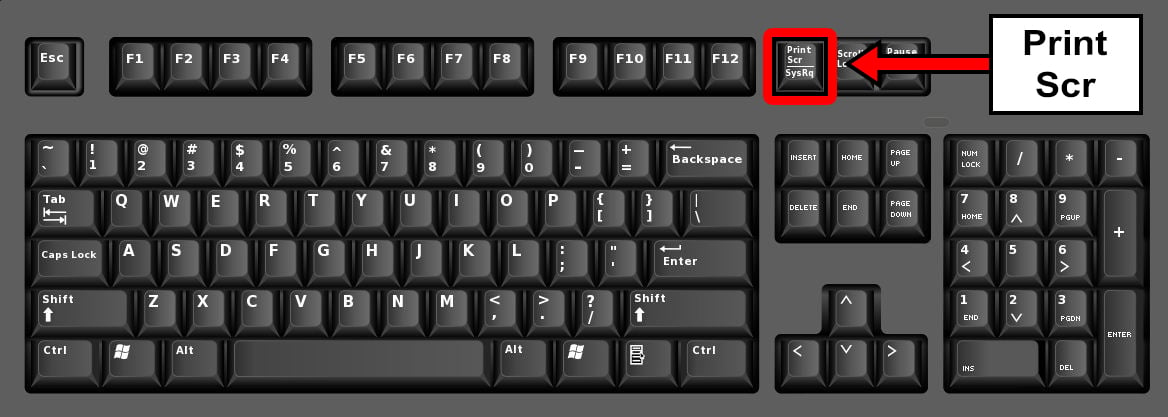
3. Print Screen (PrtScn) for Full Screen or Window Capture
For a quick capture of your entire screen or a specific window:
- Press
PrtScnto capture the entire screen. - Press
Alt + PrtScnto capture only the active window. - The captured screenshot is copied to your clipboard and can be pasted into an image editor or document.
4. Windows + Print Screen for Automatic Save
Windows 10 allows you to capture the entire screen and automatically save the screenshot. To do this:
- Press
Windows + PrtScn. - The screen will dim briefly, indicating that the screenshot has been taken and saved to the “Screenshots” folder in the “Pictures” library.
5. Xbox Game Bar for Gamers
If you’re a gamer, the Xbox Game Bar offers a quick way to capture gameplay or take screenshots:
- Press
Windows + Gto open the Xbox Game Bar. - Click on the camera icon to capture a screenshot.
- Screenshots are saved in the “Captures” folder in the “Videos” library.
Conclusion
Taking screenshots on Windows 10 is a versatile and user-friendly process, thanks to the array of built-in tools and shortcuts. Whether you prefer the precision of the Snipping Tool or the quick capture with the Print Screen key, mastering these techniques will empower you to capture and share moments effortlessly.


